
A Comprehensive Guide to Retrofit Smart Film Installation


Understanding Smart Film Technology
Smart film, also known as switchable film, is a versatile solution that transforms ordinary glass into smart glass. This technology allows the user to control the transparency of the glass, providing privacy and energy savings with just a flick of a switch. The film can be retrofitted onto existing windows, making it an accessible upgrade for homes and offices.
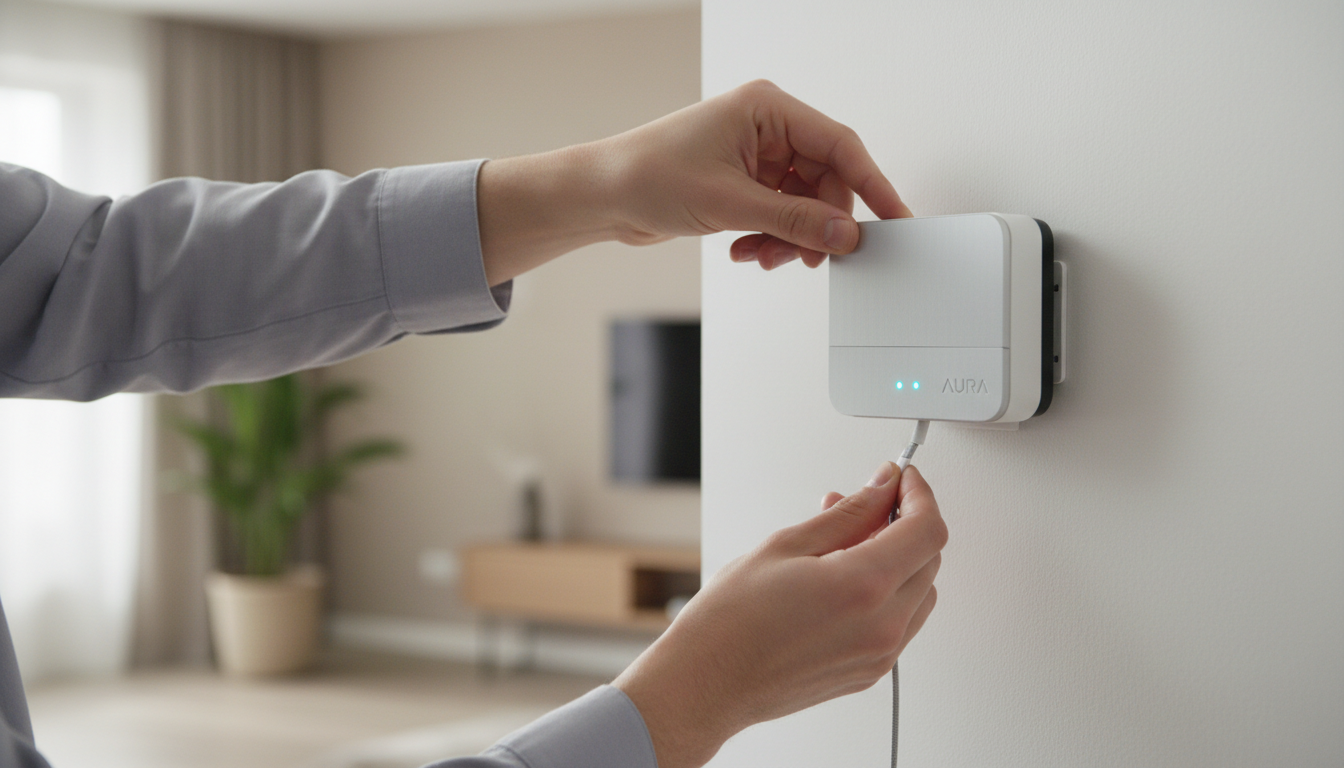
Retrofitting smart film is an excellent option for those looking to modernize their space without replacing existing glass structures. The installation process is straightforward, and the film can be customized to fit various sizes and shapes, making it a flexible choice for many applications.
Preparation for Installation
Before beginning the installation, it is crucial to prepare the glass surface properly. Start by cleaning the glass thoroughly to remove any dust, grime, or oils. This ensures the adhesive on the smart film bonds effectively with the glass surface, providing a smooth and durable finish.
Gather all necessary tools and materials, including a squeegee, utility knife, measuring tape, and a spray bottle filled with soapy water. Having these items ready will streamline the installation process and help achieve professional results.
Measuring and Cutting
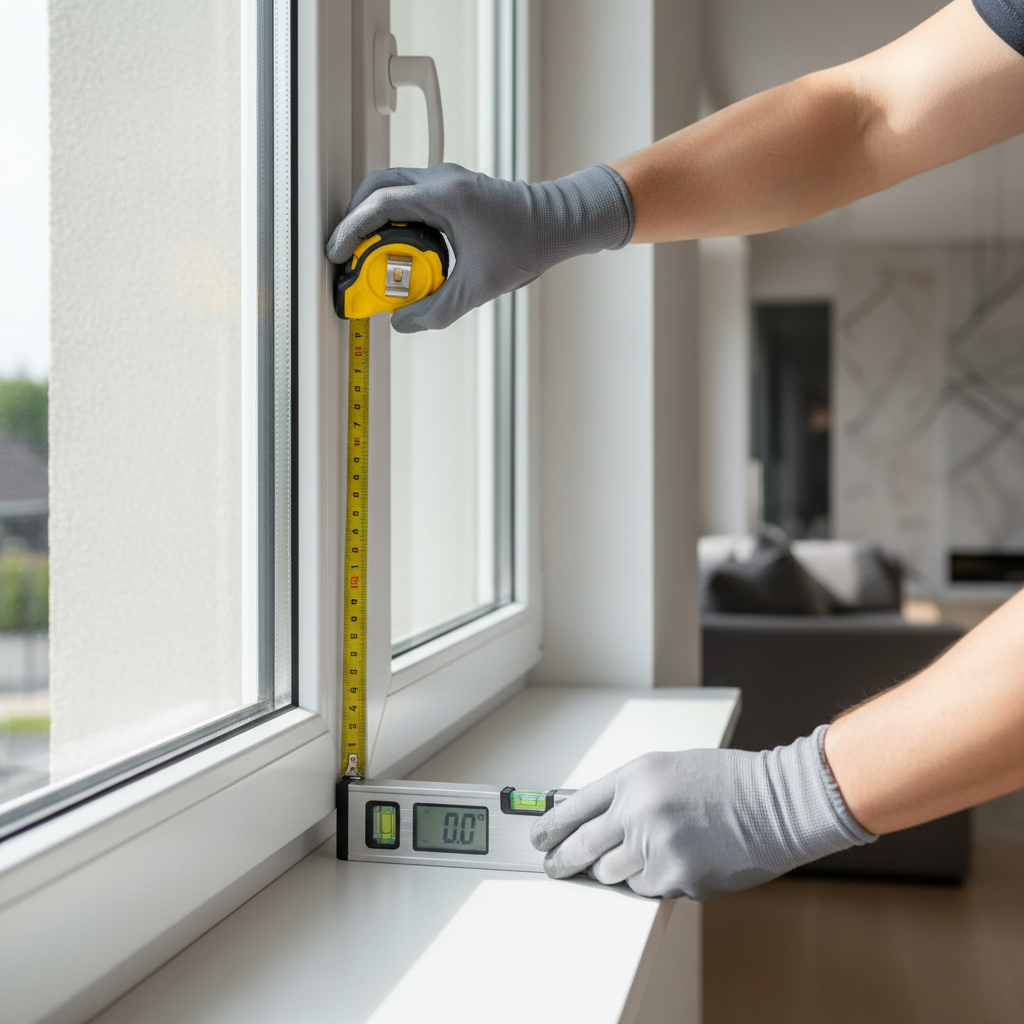
Accurate measurements are key to a successful installation. Measure the dimensions of the glass carefully, accounting for any curves or unique shapes. Once measured, cut the smart film accordingly, ensuring there is a slight excess to allow for adjustments during installation.
Installation Process
Begin the installation by applying a thin mist of soapy water onto the glass surface. This acts as a lubricant, allowing you to reposition the film as needed without damaging the adhesive. Carefully peel the backing from the smart film and position it on the glass.
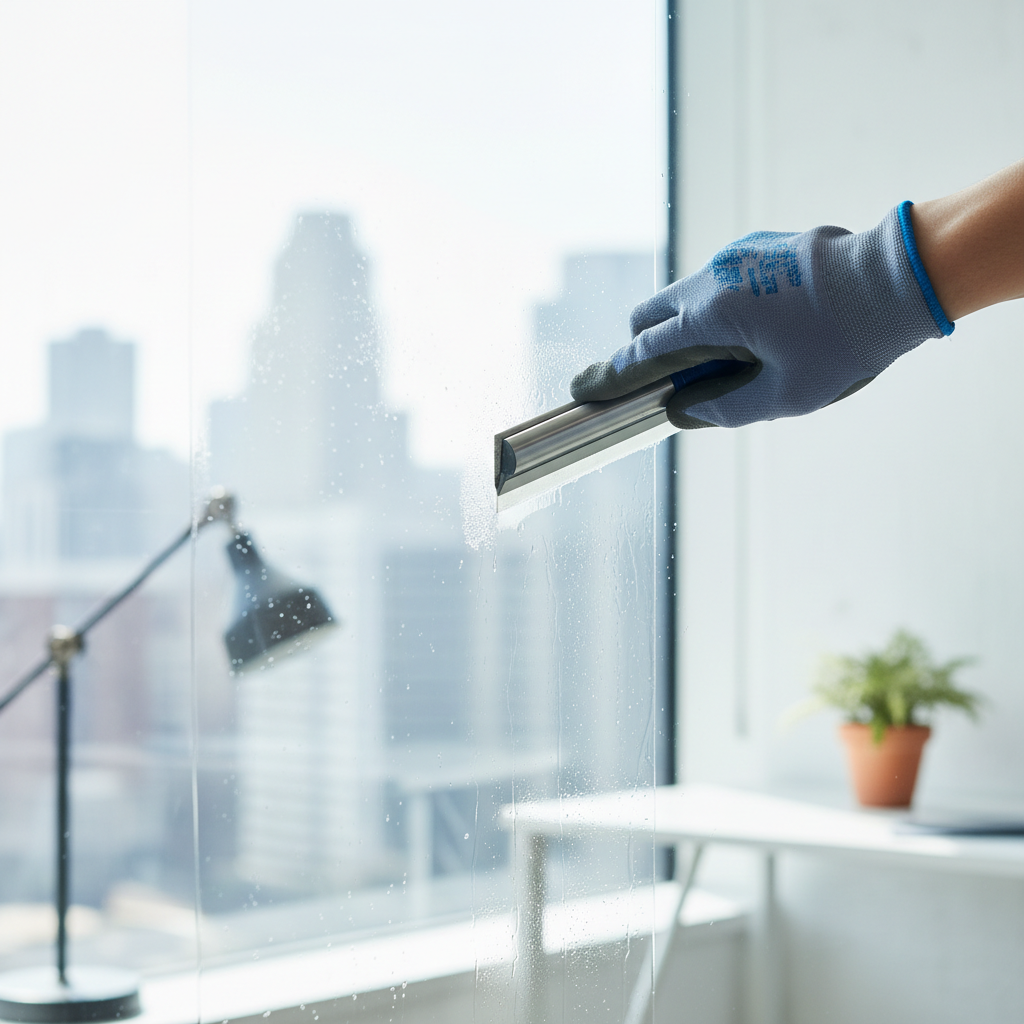
Use a squeegee to gently press the film onto the glass, working from the center outward to remove any air bubbles or excess water. Take your time with this step to ensure a smooth, wrinkle-free application.
Securing the Edges
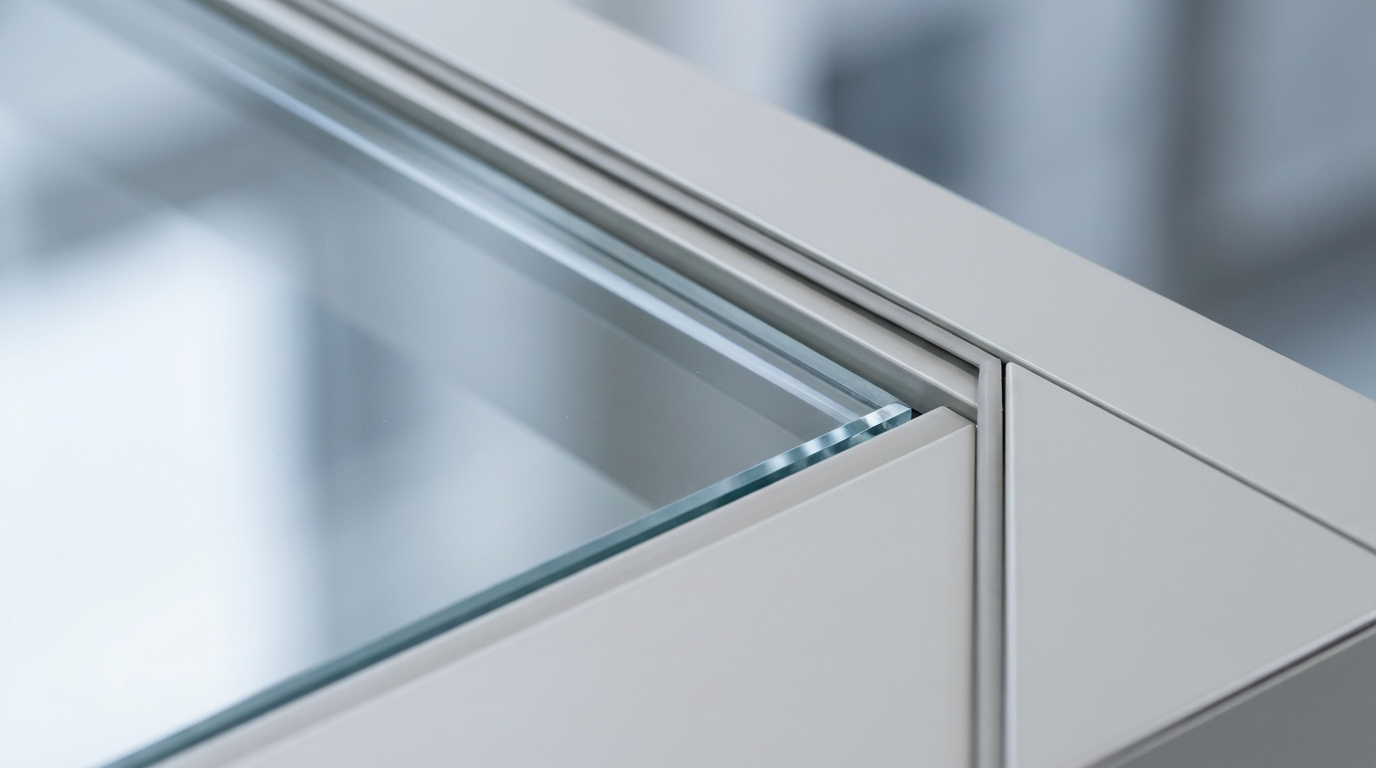
Once the film is in place, use a utility knife to trim any excess material from the edges. This creates a clean, professional finish and prevents the film from peeling over time. Ensure the edges are firmly adhered to prevent dust or moisture from seeping underneath.
Connecting the Electrical Components
Smart film requires an electrical connection to function. Depending on the system, this may involve connecting wires to a power supply or integrating with a home automation system. Follow the manufacturer's instructions for connecting the electrical components, ensuring all connections are secure and safe.
Testing the system is the final step. Ensure the film switches between transparent and opaque smoothly. If any issues arise, consult the troubleshooting section of the installation manual or contact customer support for assistance.
Maintenance and Care
Maintaining your smart film is relatively simple. Regular cleaning with a non-abrasive cloth and mild detergent will keep the film looking its best. Avoid harsh chemicals or abrasive cleaning tools that could damage the film.
By following these guidelines, your retrofit smart film installation will enhance your space with modern functionality and style, providing privacy and energy efficiency for years to come.