
DIY Tips for Installing Window Films: What You Need to Know


When it comes to enhancing the privacy and energy efficiency of your home, installing window films can be a cost-effective solution. Not only do they offer a sleek look, but they also help reduce glare and block harmful UV rays. If you're considering a DIY approach, here are some essential tips to ensure a successful installation.
Gathering Your Tools and Materials
Before you begin, make sure you have all the necessary tools and materials. You'll need a utility knife, a squeegee, a spray bottle filled with soapy water, a ruler, a microfiber cloth, and of course, the window film itself. Having these items on hand will make the process smoother and more efficient.
It's crucial to select the right type of window film for your needs. There are various options available, including decorative, privacy, and solar control films. Each type serves a different purpose, so be sure to choose one that aligns with your goals.
Preparing the Window Surface
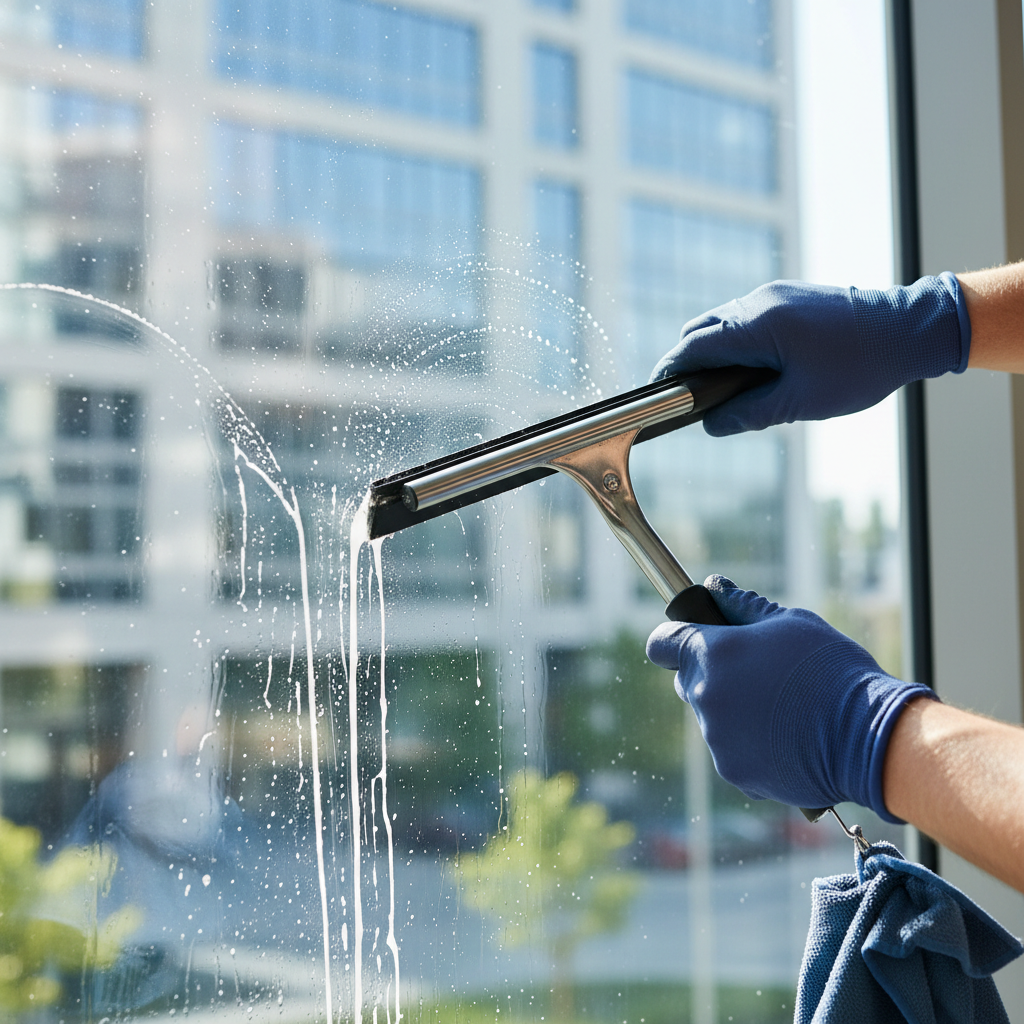
Proper preparation of the window surface is key to a successful installation. Begin by cleaning the window thoroughly with a glass cleaner and a microfiber cloth. Ensure there is no dust, dirt, or residue left on the surface, as these can cause bubbles or imperfections in the film.
Once the window is clean, measure it carefully to determine the size of the film you'll need. It's a good idea to cut the film slightly larger than the window. This allows for adjustments and ensures complete coverage.
The Installation Process
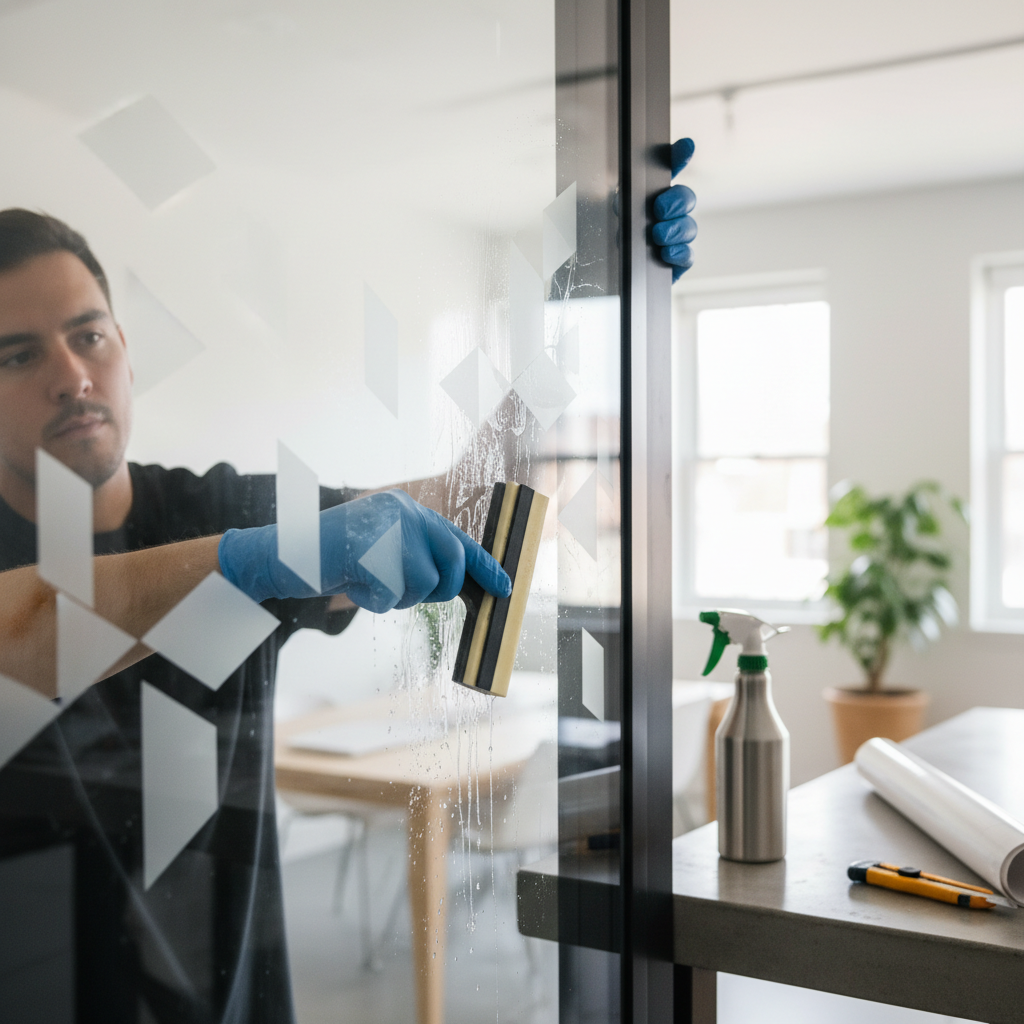
With the window prepped and the film cut to size, you're ready to begin the installation. Start by spraying the window with soapy water. This will help the film adhere smoothly and allow you to reposition it as needed. Peel the backing off the film and carefully place it onto the window, starting from the top and working your way down.
Use the squeegee to gently press the film onto the window, starting from the center and moving outward to remove any air bubbles. Take your time with this step to ensure a smooth finish.
Finishing Touches
Once the film is in place and free of bubbles, trim any excess material with the utility knife. Be careful not to cut into the frame or damage the window. After trimming, use the squeegee again to ensure the edges are secure and the film is flat.
Give the film some time to cure. Depending on the type and brand, it may take a few days for the adhesive to fully set. During this time, avoid cleaning the window or disturbing the film.
Maintaining Your Window Film
After the film has set, maintaining it is straightforward. Clean the window as you normally would, but avoid using harsh chemicals or abrasive materials that could damage the film. A mixture of vinegar and water or a mild soapy solution is usually sufficient.
By following these DIY tips, you can achieve professional-looking results while enhancing your home's comfort and aesthetics. Whether you want to add privacy, reduce energy costs, or simply update your decor, window films offer a versatile solution.