How to Install Smart Film: A Step-by-Step DIY Guide
Understanding Smart Film
Smart film, also known as switchable film, is a cutting-edge technology that allows you to control the transparency of your windows with ease. This innovative solution combines privacy and style, making it an excellent choice for both residential and commercial spaces. By following this guide, you can install smart film yourself and transform your space swiftly.

Gathering Your Materials
Before you begin, it's crucial to gather all the necessary materials. You will need smart film, a power supply, a squeegee, a utility knife, a spray bottle filled with soapy water, and a clean cloth. Having these tools at hand will ensure a smooth installation process.
Choosing the Right Smart Film
Smart films come in various sizes and specifications. Make sure to measure your window accurately and select a film that fits well. Additionally, consider the type of control you prefer—manual switch or remote control—and choose accordingly.
Preparing the Surface
Start by cleaning the window surface thoroughly. Use a glass cleaner to remove any dirt, dust, or fingerprints. A clean surface is essential for the film to adhere properly. Once the surface is spotless, dry it completely using a clean cloth.

Measuring and Cutting the Film
Next, measure the dimensions of your window and cut the smart film accordingly. Be precise with your measurements to ensure a perfect fit. Use a utility knife to make clean cuts. It's advisable to cut slightly larger pieces that can be trimmed down later if needed.
Applying the Smart Film
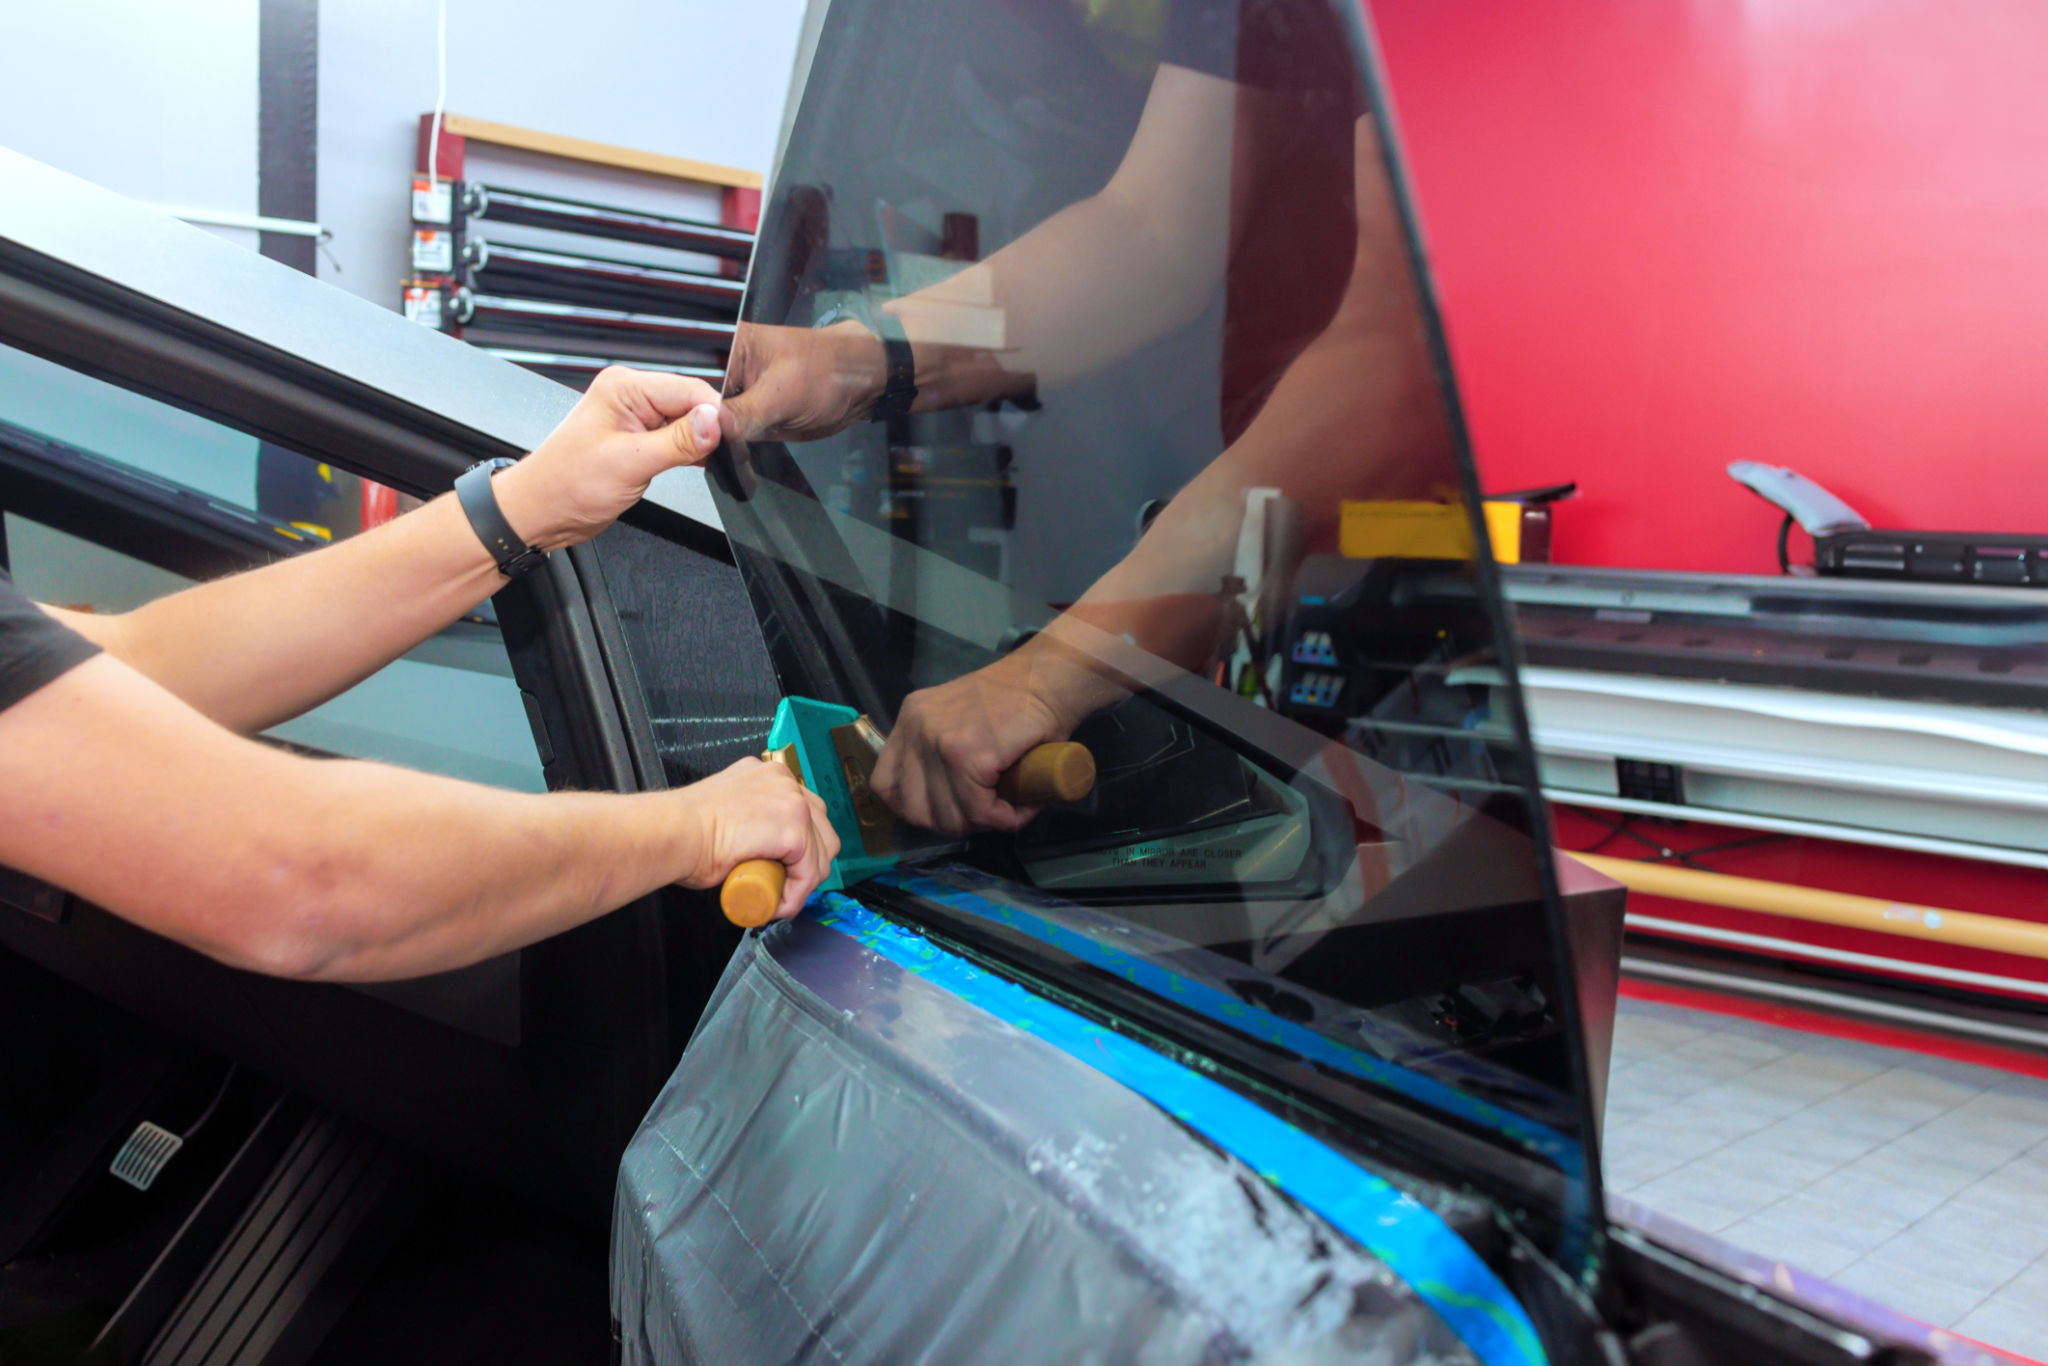
Now it's time to apply the smart film to your window. Spray the window with soapy water to create a slippery surface. Carefully peel off the protective backing from the film and position it on the window. The soapy water allows you to adjust the film as needed before it adheres.

Smoothing Out Air Bubbles
Once the film is in place, use a squeegee to smooth out any air bubbles from the center towards the edges. This step is crucial for achieving a flawless finish. Take your time and ensure that all bubbles are removed for a smooth appearance.
Connecting the Power Supply
After applying the film, connect it to the power supply. Follow the manufacturer's instructions carefully when connecting the wires. Ensure all connections are secure to prevent any operational issues. Once connected, test the smart film by switching it on and off.
Final Adjustments
If necessary, trim any excess film from the edges using a utility knife. Make sure all edges are neat and well-fitted to give your window a professional look. Finally, clean any fingerprints or marks left during installation using a clean cloth.
By following these straightforward steps, you can successfully install smart film on your windows. Not only does it enhance privacy, but it also provides an aesthetic upgrade to any space. Enjoy the versatility and convenience that smart film brings!
