
How to Install Switchable Smart Film: A Step-by-Step Tutorial


Understanding Switchable Smart Film
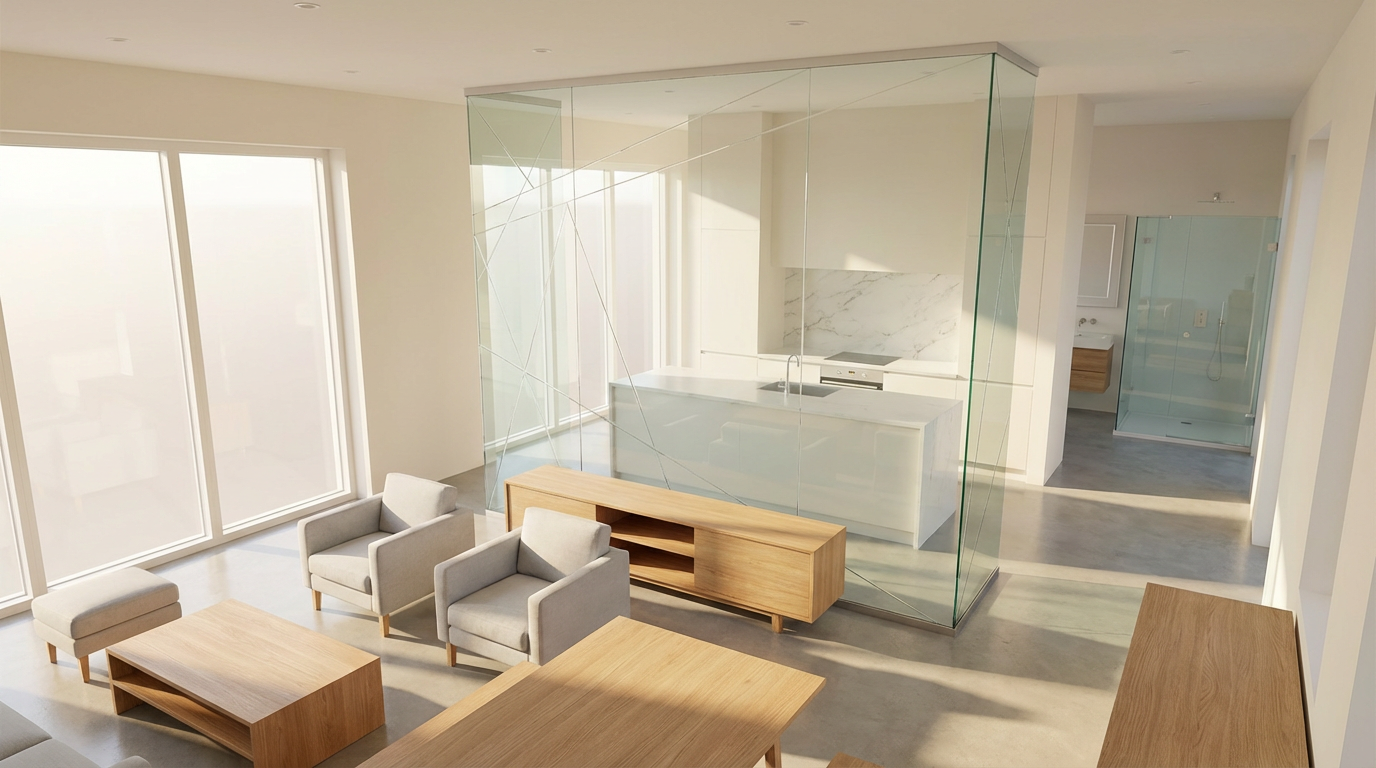
Switchable smart film is a cutting-edge technology that allows you to control the transparency of glass surfaces with the flick of a switch. This innovative film can transform windows, glass partitions, or any transparent surface from clear to opaque, offering privacy and versatility in both residential and commercial settings.
Before embarking on the installation process, it's essential to understand the basic components and how the film functions. The film consists of a polymer dispersed liquid crystal (PDLC) layer sandwiched between two layers of conductive material. When an electrical current is applied, the liquid crystals align, making the film transparent.
Gathering Necessary Tools and Materials
For a successful installation, you'll need to gather specific tools and materials. Here's a list of what you'll need:
- Switchable smart film
- Power supply unit
- Cleaning supplies (glass cleaner, lint-free cloth)
- Measuring tape
- Utility knife or scissors
- Squeegee
- Electrical tape
Ensure you have all these items ready before you begin the installation process, as it will streamline the workflow and help avoid unnecessary interruptions.
Preparing the Glass Surface
The first step in the installation process is preparing the glass surface. Proper preparation is crucial for ensuring the film adheres correctly and functions optimally. Here's how to prepare the glass:
- Clean the Glass: Use a high-quality glass cleaner and a lint-free cloth to thoroughly clean the surface. Remove all dust, dirt, and grease.
- Measure the Glass: Measure the dimensions of the glass surface accurately. This will ensure you cut the film to the correct size.
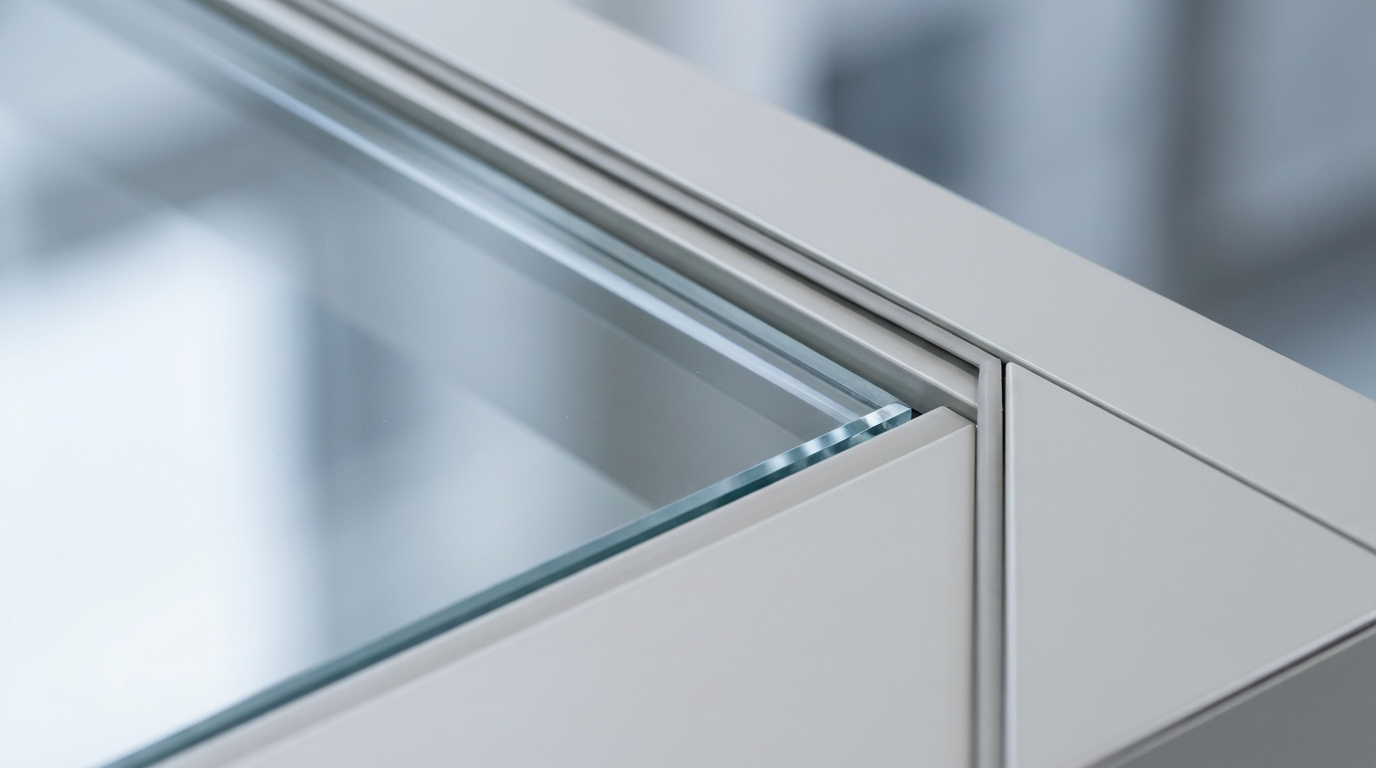
- Cut the Film: Using a utility knife or scissors, carefully cut the film to match the dimensions of the glass.
Installing the Smart Film
With the glass prepped and the film cut to size, you can now proceed with the installation. Follow these steps to install the film:
- Peel Off the Backing: Gently peel off the protective backing from the film to expose the adhesive side.
- Apply the Film: Starting at the top of the glass, align and apply the film, using a squeegee to smooth out any air bubbles as you go down.
- Trim Excess Film: If necessary, trim any excess film from the edges using a utility knife.
Take your time during this step to ensure a smooth and bubble-free application. Proper alignment and smooth application are key to a professional-looking installation.
Connecting the Power Supply
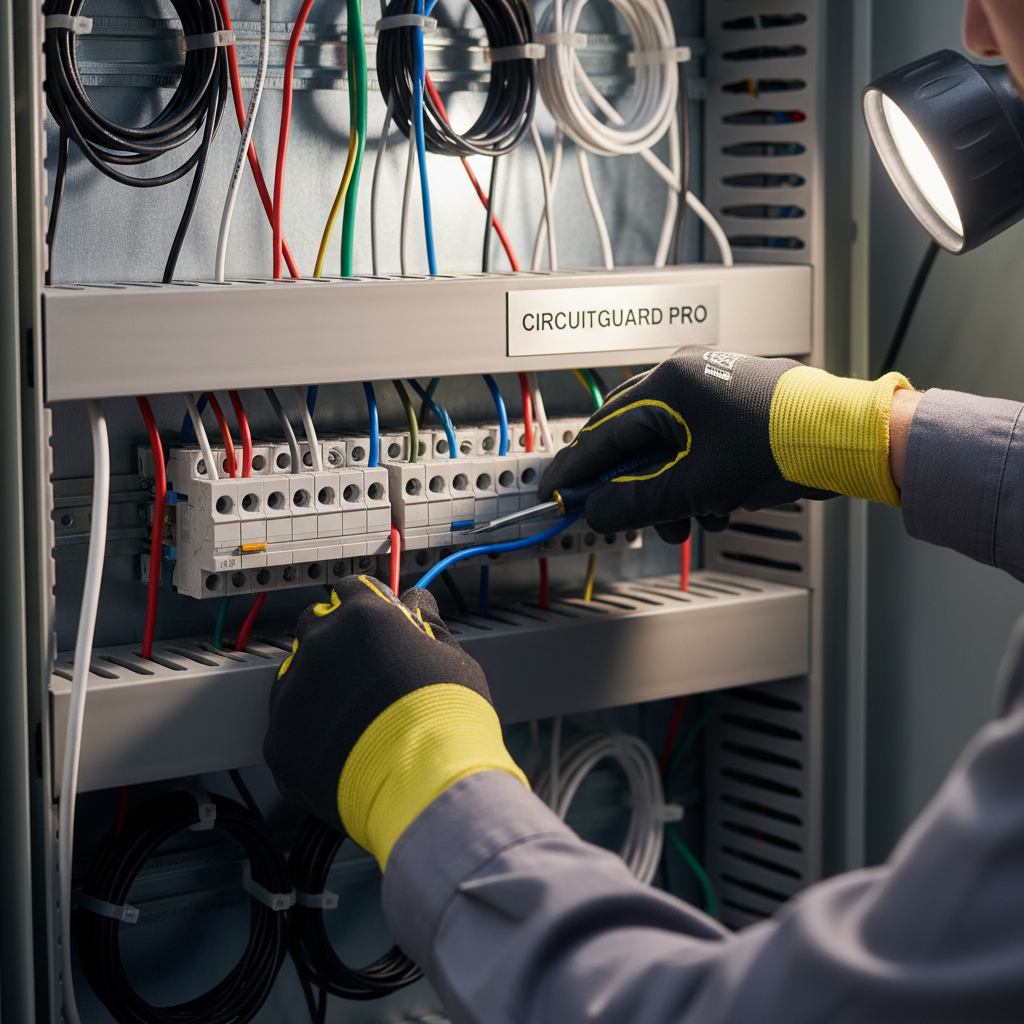
Once the film is installed, the next step is to connect the power supply. This is what makes the film switchable, allowing you to control its transparency:
- Attach the Connectors: Use electrical tape to secure the connectors to the conductive side of the film.
- Connect to Power: Connect the other end to the power supply unit.
- Test the Film: Turn on the power supply to test the film. It should switch from opaque to clear when activated.
Final Adjustments and Maintenance Tips
With the film installed and powered, make any necessary adjustments to ensure everything is functioning correctly. Check for any air bubbles or imperfections that may have appeared during installation. Use a squeegee to smooth them out if needed.
To maintain the film, regularly clean the glass surface with a mild glass cleaner and a soft cloth. Avoid using abrasive materials or harsh chemicals, as these can damage the film. Regular maintenance will ensure the film remains in top condition, providing privacy and versatility for years to come.